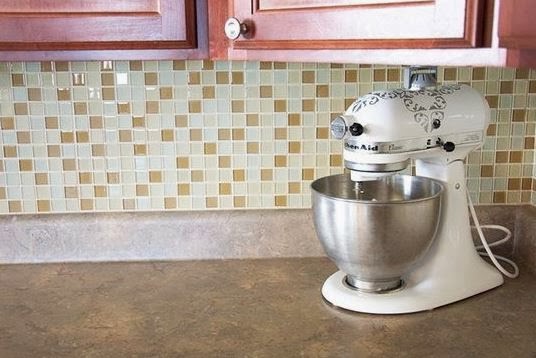
Installing a tile backsplash can add a beautiful and unique finishing touch to any kitchen. However, like most other tiling projects, this can be a daunting task to DIY, but is quite expensive when turned over to a professional. Fortunately, there are a few key tips and tricks that can make installing your own backsplash a simple and enjoyable project.
Design Your New Backsplash
 The best way for an amateur DIYer to design a new kitchen backsplash is to spend time in a specialty tile store. You can check out the different types and costs of tiles and choose some favorites. Many of these stores offer complimentary design services that will assist in calculating the amount of tile needed based on provided backsplash dimensions. To independently design the backsplash, use accurate measurements and calculate the number of tiles needed to cover the area. Arranging different colored or sized tiles can create visual interest.
Remove Old Backsplash
If there is currently any kind of backsplash in place, it is important to properly remove it before attempting to install new tile. Ideally, tile is installed on clean, smooth drywall or backer board. According to the home improvement professionals of Kitchen and Bath, who help design kitchens in Oakville, the old tile should be removed and tile adhesive removed by sanding. Even something like wallpaper should be carefully taken off the wall and the glue completely cleaned before beginning new tile.
Purchase Materials
The materials needed to install a tile backsplash can be purchased at any tile store and most large home improvement stores. A typical installation will require the following: tape measure, level, notched tile trowel, buckets for mixing, tile spacers, rubber float and a tile cutter. Many stores rent tile cutters by an hourly or daily rate which is often a great choice for a do-it-yourself project. You will also need to purchase the number of tiles required by your backsplash design (plus about 10% for waste), and enough tile adhesive (thinset) and grout for the project. Thinset and grout containers are typically labeled with the surface area that they will cover.
Install Tiles
To actually install the tile, begin by determining the exact layout of the tiles to ensure that tile cuts will make sense (try to avoid having only a small sliver of a tile in a corner or an edge. Clean the entire area and allow to dry. Using the tile trowel, apply a thin layer of adhesive to a small area. Lay the first tile and gently push into adhesive. Use the level to make sure the tile is straight. Add next tile, using spacers to keep rows even. If any adhesive gets on tile surface, quickly wipe off with a damp cloth. Follow tile cutter directions to carefully score and cut tiles as needed.
Grout and Finish
After the tile adhesive has been allowed to dry according to the manufacturer’s directions, it is time to grout. Mix the grout in a bucket as directed. After removing all tile spacers, use the rubber float to apply the grout across the tiles, focusing on the areas between the tiles. After the grout has been allowed to set, use a damp sponge to remove excess grout from the face of the tiles. Once the grout is completely dried, use a cloth to clean and buff the tiles until they shine.
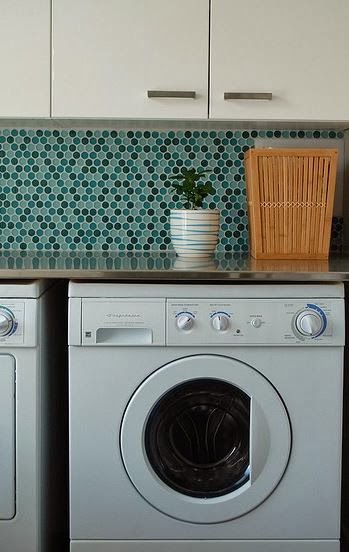
Once the grout is dried and wiped down, you’ll be able to get the full effect of your finished product. Congratulations, you’re a true do-it-yourself-er! Now that you’ve seen how easy it can be to re-tile an area of your home, don’t be afraid to take on other projects in your kitchen, bathrooms, or even laundry rooms or kid’s playrooms. Now that you have the skills, equipment and know-how, see what other projects you are ready to take on!
This site contains product affiliate links. We may receive a commission if you make a purchase after clicking on one of these links.
What’s your Reaction?
+1
+1
+1
+1
+1
+1
+1